 Pin It
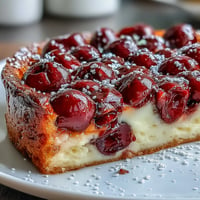
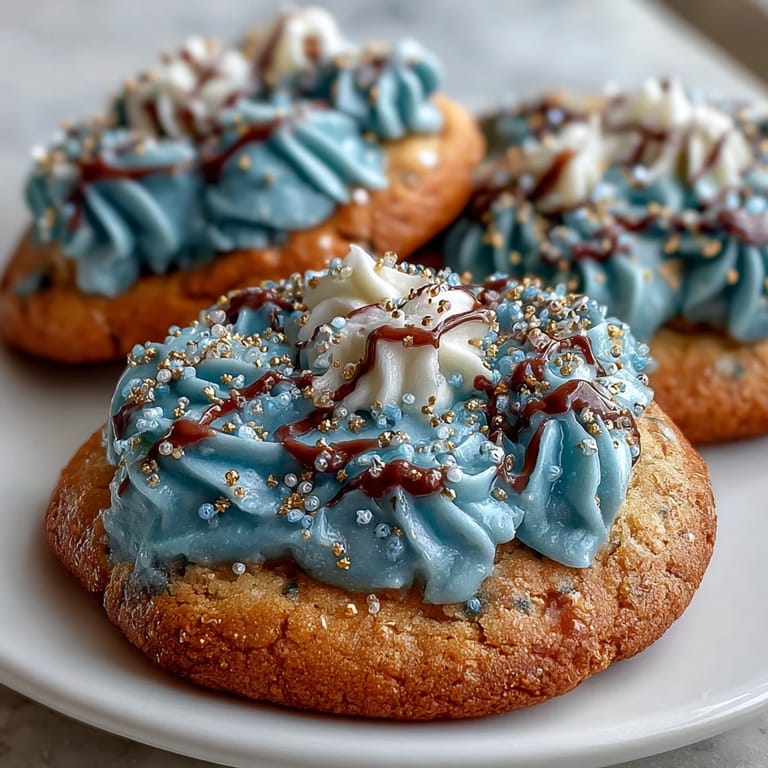
 My friend showed up to game night with a box of these Pure Vanilla Cookie-inspired sugar cookies, and I couldn't stop eating them. The cookies themselves were buttery and perfectly vanilla, but it was the glossy royal icing that made them feel like edible art. She admitted she'd spent the afternoon piping blue and gold details, humming along to Cookie Run Kingdom music the whole time, and I realized right then that these weren't just cookies—they were a love letter to a game we both secretly played too much. Now whenever I make them, that same care goes into every batch.
I made these for my nephew's birthday party, and watching his face light up when he saw cookies decorated in his favorite game's colors felt like winning something. He immediately asked if he could help frost the next batch, and suddenly we had this quiet afternoon together in the kitchen, him carefully squeezing icing while I laughed at his very intentional, very wobbly lines. Those cookies disappeared within minutes, but the memory of his concentration face lasted much longer.
Ingredients
- All-purpose flour: This is your foundation—make sure it's fresh and stored properly, as old flour can affect rise and texture.
- Baking powder: Just a half teaspoon gives you enough lift to keep cookies tender without making them cakey.
- Salt: A quarter teaspoon enhances the vanilla and balances sweetness, so don't skip it.
- Unsalted butter: Softened butter creams better with sugar, creating that light and fluffy base that makes everything work.
- Granulated sugar: One cup gives you structure and sweetness without overwhelming the pure vanilla flavor.
- Egg: One large egg binds everything together and helps with spread and texture.
- Pure vanilla extract: Use real vanilla, not imitation—you'll taste the difference in every bite, and it's what makes these cookies sing.
- Milk: A tablespoon loosens the dough slightly so it rolls out beautifully without cracking.
- Powdered sugar: Sifted twice if you can manage it, this creates smooth, lump-free icing.
- Meringue powder: This is the secret to icing that hardens properly and stays stable for decorating.
- Warm water: Add it gradually—consistency matters more than exact amounts.
- Gel food coloring: Gel colors don't thin out your icing like liquid colors do, so your blues and golds stay vibrant.
Tired of Takeout? 🥡
Get 10 meals you can make faster than delivery arrives. Seriously.
One email. No spam. Unsubscribe anytime.
Instructions
- Mix the dry team:
- Whisk flour, baking powder, and salt in a medium bowl until evenly combined. This distributes the leavening evenly so your cookies rise consistently.
- Cream butter and sugar:
- Beat softened butter and sugar for 2 to 3 minutes until it looks pale and fluffy—this is the moment where your cookies get their tender crumb. Don't rush it.
- Add the wet ingredients:
- Crack in your egg, pour in the vanilla and milk, and mix until everything is incorporated and looks smooth. The mixture should be creamy and unified.
- Bring it together gently:
- Add your dry ingredients gradually, mixing just until the dough comes together without any visible flour streaks. Overmixing leads to tough cookies, so stop as soon as it looks unified.
- Chill the dough:
- Divide dough in half, flatten into disks, wrap in plastic wrap, and refrigerate for at least an hour. Cold dough is easier to roll and cut, and it bakes into thinner, crispier cookies.
- Prepare your workspace:
- Preheat your oven to 350°F and line baking sheets with parchment paper. This prevents sticking and ensures even browning on the bottoms.
- Roll and cut:
- On a lightly floured surface, roll dough to 1/4-inch thickness and cut your shapes with cookie cutters. If shapes seem fragile, chill the cut cookies for 10 minutes before baking.
- Space them out:
- Place cookies 1 inch apart on prepared sheets so they have room to spread without touching. Crowded cookies bake unevenly and lose their shape.
- Bake until golden:
- Bake for 10 to 12 minutes until the edges just begin turning golden—the centers should still look slightly underdone. They continue cooking as they cool.
- Cool correctly:
- Leave cookies on the baking sheet for 5 minutes so they set, then transfer to a wire rack to cool completely before icing. A warm cookie with icing will look greasy and melted.
- Make the icing:
- Combine sifted powdered sugar, meringue powder, vanilla, and 4 tablespoons of warm water in a bowl. Beat on low speed until smooth and glossy, adding water 1 teaspoon at a time until you reach soft peaks.
- Divide and color:
- Split your icing into separate bowls and add gel food coloring drop by drop until you reach the shade you want. A little color goes a long way, especially with gel.
- Decorate with intention:
- Use piping bags or squeeze bottles to frost fully cooled cookies with precision and patience. Let each layer set slightly before adding details so colors don't bleed together.
- Let it harden:
- Allow icing to set completely, at least 2 to 3 hours, before stacking or packaging. The royal icing will harden into a glossy shell that makes cookies feel professional and precious.
 Pin It
 These cookies taught me that presentation matters as much as taste, especially when you're making something for someone you care about. There's something about sitting down with a friend to admire cookies you made together that transforms them from simple treats into tiny edible accomplishments.
The Pure Vanilla Cookie Theme
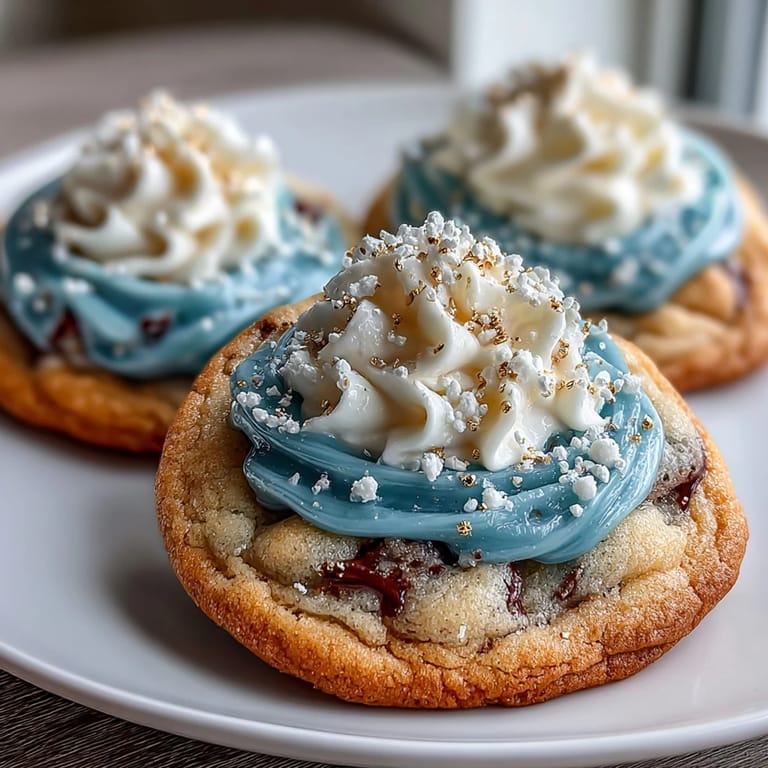
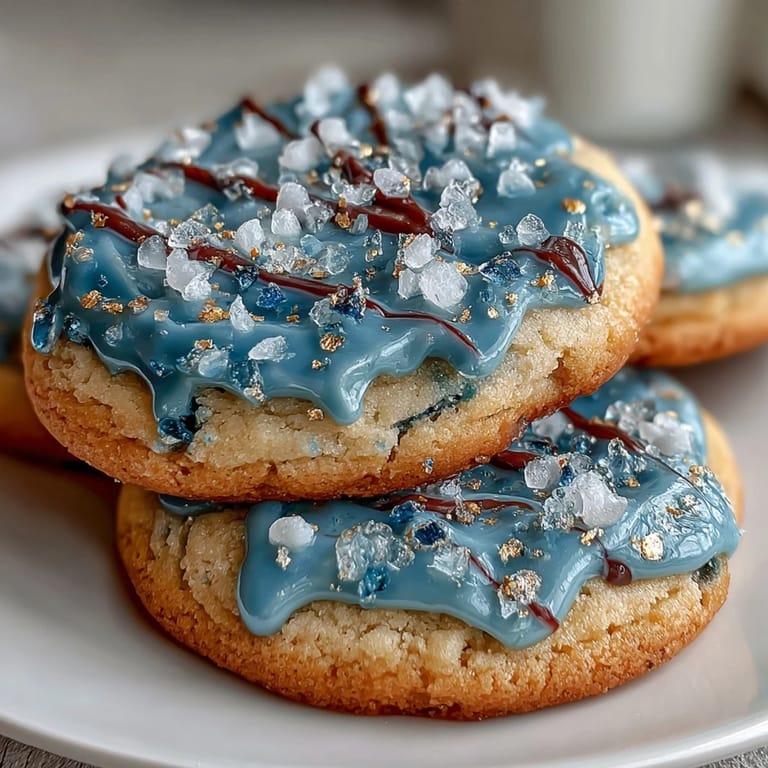
If you're leaning into the Cookie Run Kingdom aesthetic, stick with blue, white, and soft gold or yellow for your icing colors. These gentle, cool-toned shades feel elegant and game-accurate without being overwhelming, and they photograph beautifully too.
Storage and Gifting
Once the royal icing has fully hardened, these cookies stack beautifully and stay fresh in an airtight container at room temperature for up to a week. They're sturdy enough to package in boxes with parchment paper between layers, making them ideal for gifts or shipping to friends.
Making Them Your Own
The beauty of this recipe is that you can decorate however feels right to you. Some nights I make simple lines, other times I pipe tiny flowers or geometric patterns—whatever energy I'm bringing to the kitchen that day ends up on the cookie. The vanilla base is classic enough to handle any decorative style, and the royal icing is forgiving if you change your mind mid-decoration.
- Use white gel food coloring instead of omitting color for a clean, minimalist look that still feels intentional.
- Practice your piping on parchment paper first so you feel confident before decorating actual cookies.
- Let cookies cool completely in a cool, dry room away from humidity, which can make icing sticky instead of hard.
 Pin It
 These cookies are pure joy in edible form, and making them never feels like a chore. Every batch is a chance to slow down and create something beautiful.
Recipe FAQs
- → What makes these sugar cookies tender?
Chilling the dough before rolling helps the cookies maintain their shape and develop a tender, crumbly texture when baked.
- → How is the royal icing prepared?
Royal icing is made by combining powdered sugar, meringue powder, vanilla extract, and warm water, then beating until smooth and glossy.
- → Can I customize the decorations on these cookies?
Yes, using gel food coloring, you can tint the royal icing in various shades to create vibrant, themed designs.
- → What is the recommended baking time and temperature?
Bake the cookies at 350°F (175°C) for 10–12 minutes, until edges turn a light golden color.
- → How should the cookies be stored to maintain freshness?
Keep decorated cookies in an airtight container at room temperature; they stay fresh for up to one week.