 Pin It
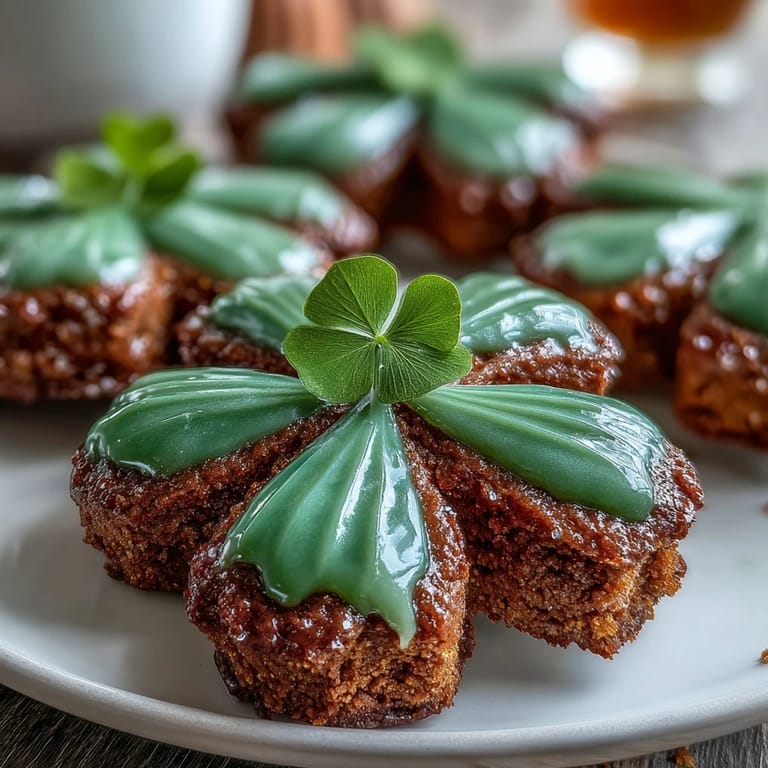
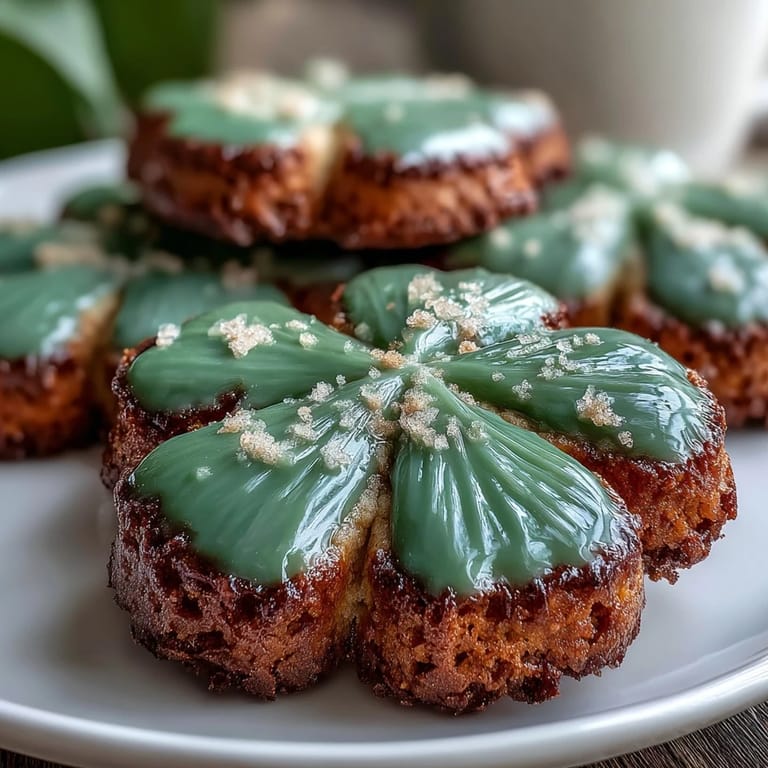
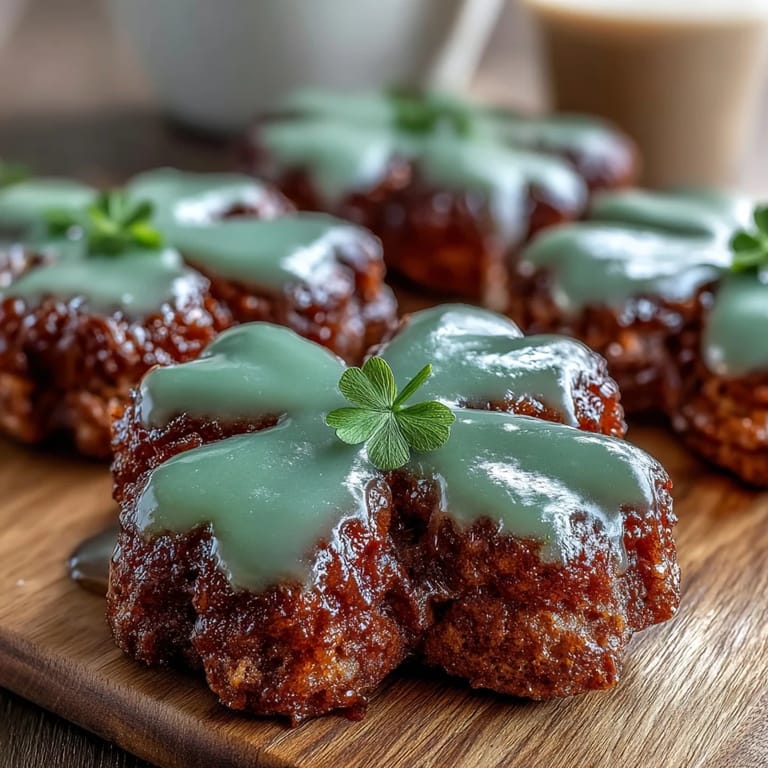
 My sister called me in a panic two days before St. Patrick's Day, asking if I could make cookies for her daughter's school party. I'd never piped royal icing before, but something about the challenge pulled me in—maybe it was the image of those little green shamrocks catching the classroom light. What started as a last-minute favor became my favorite St. Patrick's Day tradition, and now I make these every year without fail.
I'll never forget watching my niece bite into one of these at her class party and immediately ask for three more to bring home. Her teacher told me they were gone within twenty minutes, and parents started messaging asking for the recipe. That moment, standing in my kitchen with powdered sugar in my hair and green icing under my nails, I realized these weren't just cookies—they were the kind of small thing that stuck with people.
Ingredients
- All-purpose flour: The foundation of a tender, buttery cookie; sift before measuring if you want cookies that aren't dense.
- Baking powder: Just enough lift to keep these cookies delicate without making them cake-like.
- Salt: A small amount that makes the butter and sugar sing and rounds out the sweetness.
- Unsalted butter: Softened to room temperature is non-negotiable; cold butter won't cream properly and you'll lose that light, fluffy texture.
- Granulated sugar: The key to a crisp edge while keeping the center tender.
- Egg: Binds everything together and adds richness that makes these taste homemade in the best way.
- Vanilla extract: Use real vanilla if you can; the difference is subtle but real.
- Almond extract: Optional but worth trying once—it adds a whisper of something sophisticated without being obvious.
- Powdered sugar: Must be sifted so your icing stays smooth and free of lumps.
- Meringue powder: This is what makes royal icing set hard and shiny; don't skip it or your decorating will be messy.
- Water: Room temperature water mixes better and won't shock the icing into a weird texture.
- Green gel food coloring: Gel is far superior to liquid because it won't thin out your icing the way liquid coloring does.
Tired of Takeout? 🥡
Get 10 meals you can make faster than delivery arrives. Seriously.
One email. No spam. Unsubscribe anytime.
Instructions
- Combine your dry ingredients:
- Whisk flour, baking powder, and salt together in a medium bowl. This ensures even distribution so every cookie bakes the same way.
- Cream butter and sugar:
- Beat them together until the mixture looks pale and fluffy, about two minutes with an electric mixer. You'll see the texture change as air gets incorporated.
- Add your wet ingredients:
- Beat in the egg, vanilla, and almond extract until everything is smooth and combined. Don't skip this step or your dough will come out grainy.
- Bring the dough together:
- Gradually add the dry mixture to the wet ingredients, mixing just until the dough comes together. Overmixing makes tough cookies, so stop as soon as you don't see flour streaks.
- Chill your dough:
- Divide into two discs, wrap in plastic wrap, and refrigerate for at least an hour. Cold dough holds its shape better when you cut shamrocks, and the cookies will bake more evenly.
- Preheat and prepare:
- Set your oven to 350°F and line baking sheets with parchment paper. This prevents sticking and ensures the bottoms brown evenly.
- Roll and cut:
- On a lightly floured surface, roll dough to 1/4-inch thickness and cut shamrock shapes with a cookie cutter. Space them about an inch apart on the sheets because they'll spread slightly.
- Bake until golden:
- Bake for 8 to 10 minutes until the edges just begin to turn golden. The centers will look barely done—that's exactly right because they'll firm up as they cool.
- Cool with patience:
- Let cookies rest on the pan for 5 minutes before transferring to a wire rack. This prevents them from breaking and gives them time to set slightly.
- Make your icing:
- Sift powdered sugar and meringue powder together, then gradually add water and vanilla while beating on low speed. After 5 to 7 minutes, the icing should look smooth and glossy, like it's ready to shine.
- Add your color:
- Mix in green gel food coloring a tiny bit at a time until you reach the shade you want. Gel doesn't require as much mixing as liquid coloring, which means you won't accidentally add too much water.
- Decorate with intention:
- Transfer icing to a piping bag with a small round tip, then outline each shamrock first before flooding the center with icing. Let sit for at least an hour before serving so the icing hardens properly.
 Pin It
 There's something almost meditative about piping those shamrocks, watching the icing flow into the little leaf shapes. A friend sat at my kitchen table last year while I decorated, and we talked for two hours straight without realizing how much time had passed—those cookies became the background to a conversation that mattered.
Why These Cookies Matter
These aren't fancy cookies that require restaurant-level skill; they're the kind of recipe that builds confidence in the kitchen. Once you nail royal icing on these shamrocks, you'll feel brave enough to decorate cookies for any holiday. The almond extract adds a subtle sophistication that makes people pause mid-bite and ask what they're tasting, which is always a small win.
The Royal Icing Game
Royal icing can seem intimidating, but once you understand the texture, it becomes intuitive. The consistency should be thick enough to hold its shape but thin enough to flow when you pipe it. I've learned that meringue powder is worth its weight in gold because it's the only thing that guarantees your icing will set hard enough to stack cookies without them sticking together.
Storing and Serving Your Shamrocks
These cookies keep beautifully in an airtight container at room temperature for up to a week, which means you can bake them days ahead without worry. The longer they sit, the more the flavors meld together, especially if you used almond extract. For the softest cookies, reduce baking time by one minute, but know that this means they'll break more easily during decorating.
- Edible gold glitter sprinkled on wet icing adds a touch of magic that feels genuinely celebratory.
- If cookies feel hard after a few days, stack them with parchment between layers to soften them slightly from the moisture they release.
- Keep any remaining dough frozen for up to three months so you can bake fresh cookies whenever the craving hits.
 Pin It
 These shamrock cookies have become more than a St. Patrick's Day tradition in my family—they're the edible version of showing up for people. Make them once, and you'll understand why.
Recipe FAQs
- → What gives the cookies their green color?
Green gel food coloring is added to the royal icing to create the vibrant shamrock hue.
- → How can I achieve a tender cookie texture?
Chilling the dough for at least an hour helps develop a tender texture and prevents spreading during baking.
- → Can the almond extract be omitted?
Yes, almond extract is optional and can be left out without affecting the overall flavor significantly.
- → How do I decorate the cookies with royal icing?
Use a piping bag with a small round tip to outline and flood the cooled cookies, then let the icing set fully before serving.
- → What is the best way to store these cookies?
Store in an airtight container at room temperature for up to one week to maintain freshness.