 Pin It
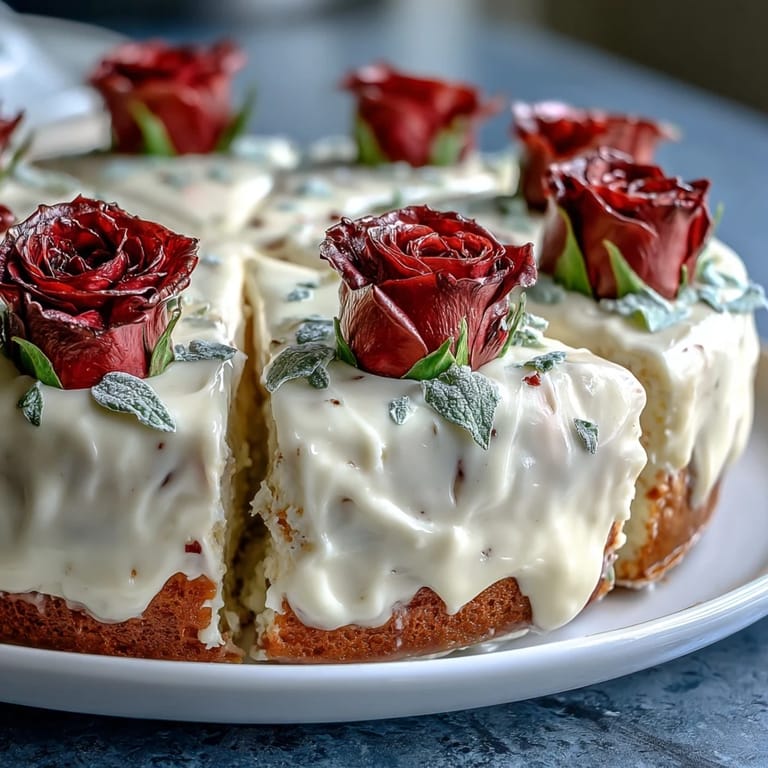
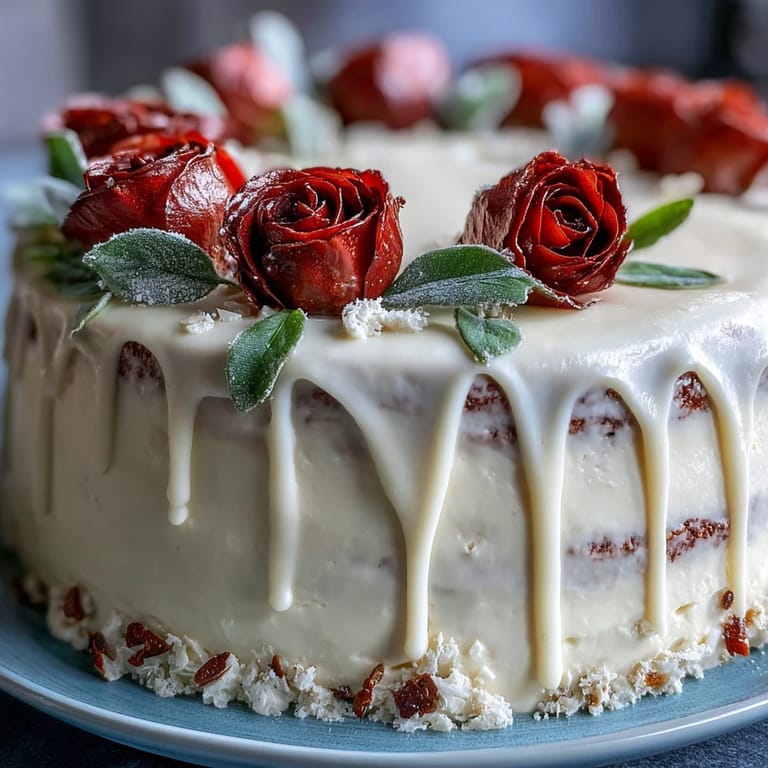
 There's something about baking a cake for someone's big moment that makes your kitchen feel like the most important place in the world. I'll never forget the afternoon my niece stopped by after getting her diploma in the mail, and instead of just ordering something, I decided to make her a cake from scratch—one with actual piped roses, the kind that looks almost too pretty to eat. The vanilla cake came out impossibly soft, and watching her face when she saw those buttercream flowers arranged across the top made every minute of prep time worth it.
I learned the real power of this cake when I brought it to my friend's daughter's graduation party, and it became the thing everyone talked about for weeks afterward. Not because it was difficult—which it isn't—but because it felt personal and celebratory in a way store-bought cakes never do. The buttercream roses became a little tradition after that, and now every graduation season, someone texts asking if I can make my cake.
Ingredients
- All-purpose flour: The foundation of a tender crumb, and measuring by weight makes this foolproof.
- Baking powder and baking soda: This combination gives you lift without that eggy taste, and getting the ratio right is what keeps the cake from being dense.
- Unsalted butter: Room temperature is non-negotiable here because cold butter won't cream properly, and you need that air beaten in to make the cake light.
- Granulated sugar: Creaming it with butter for those full three to four minutes isn't just busy work—it's where the magic starts.
- Eggs: Always room temperature, always added one at a time, because this is how you get a stable, emulsified batter that bakes into something silky.
- Vanilla extract: Don't cheap out here; good vanilla makes the whole cake taste homemade in the best way.
- Whole milk: Room temperature milk won't shock your batter, and whole milk gives you the richest final texture.
- Powdered sugar: Sift it before mixing into buttercream, or you'll spend ten minutes trying to break up lumps and your frosting will never be smooth.
- Gel food coloring: This is the secret to vibrant roses that don't look watered down—liquid coloring will thin your buttercream and ruin everything.
Tired of Takeout? 🥡
Get 10 meals you can make faster than delivery arrives. Seriously.
One email. No spam. Unsubscribe anytime.
Instructions
- Set yourself up for success:
- Preheat your oven to 350°F and line that 12x18-inch pan with parchment paper so your cake slides out without drama. Let all your ingredients sit on the counter for twenty minutes if you haven't already—room temperature ingredients mix together like they actually want to be cake.
- Build your dry team:
- Whisk flour, baking powder, baking soda, and salt in a bowl and set aside. This mixing ensures everything's distributed evenly, which is how you avoid those pockets of baking soda that taste like soap.
- Cream butter and sugar like you mean it:
- Beat the softened butter and sugar together for three to four full minutes until it looks pale and fluffy, almost like frosting. This creaming step is what gives the cake its tender crumb, so don't rush it.
- Add eggs with intention:
- Drop in each egg one at a time and beat well between additions so it emulsifies properly. Once all four are in, mix in the vanilla extract until you can smell it throughout your kitchen.
- Alternate like a conversation:
- Start with flour, then milk, then flour again, going back and forth until everything's incorporated. Mix just until combined—overworking develops gluten and makes the cake tough, which defeats the whole purpose.
- Get it in the oven:
- Pour the batter into your prepared pan and smooth the top with an offset spatula or the back of a spoon. Bake for thirty to thirty-five minutes until a toothpick comes out clean and your kitchen smells like vanilla heaven.
- Give it time to rest:
- Let the cake cool completely in the pan on a wire rack—this might test your patience, but rushing this step leads to a crumbly mess when you try to frost it. Once it's cool, you can turn it out onto a board or leave it in the pan, depending on how you want to decorate.
- Make the buttercream magic:
- Beat room temperature butter until it's creamy and pale, then gradually add sifted powdered sugar so you don't create a cloud of sugar in your kitchen. Add milk and vanilla, then beat the whole thing for a good five minutes until it's light and fluffy enough to pipe.
- Tint with intention:
- Divide your buttercream into bowls and add gel food coloring one tiny drop at a time, stirring well. Gel coloring is concentrated, so a little goes a long way, and you'll get those jewel-toned roses without any watering down.
- Frost like you're building something beautiful:
- Spread a thin base layer of white buttercream over the cooled cake to give you a smooth surface for piping. This crumb coat isn't just practical—it also keeps stray crumbs from ending up in your flowers.
- Pipe your celebration:
- Fit piping bags with petal tips for roses and leaf tips for greenery, then pipe with confident, deliberate motions. Start in one corner and work your way across, and remember that imperfect roses look way more homemade and charming than perfect ones ever could.
- Write the message:
- Use a small round tip and white or contrasting buttercream to add Congratulations or a personalized message. This is where the cake becomes a story, so take your time and make it mean something.
 Pin It
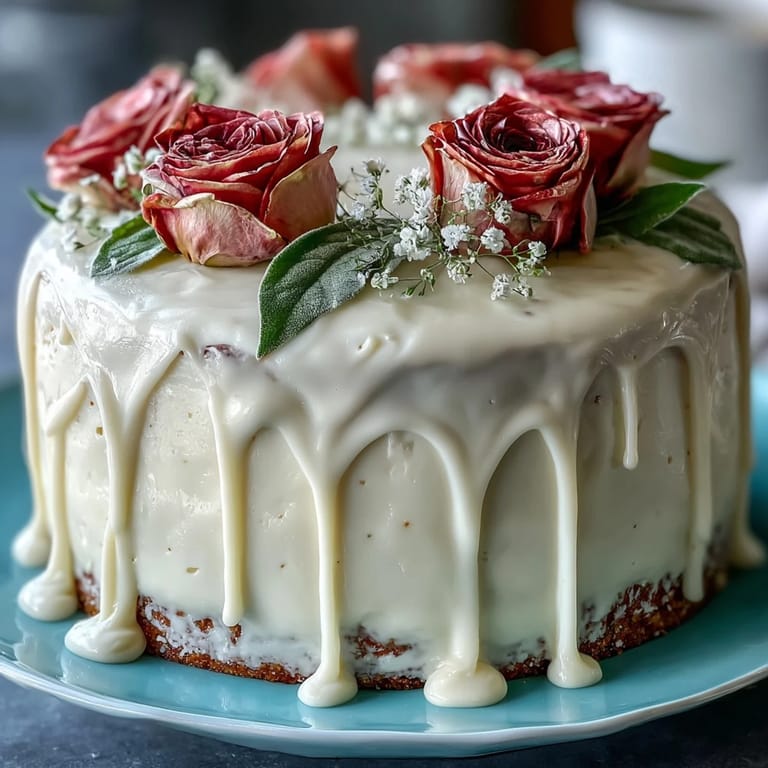
 I think about the moment my friend's teenager took that first bite and didn't say anything for a second, just closed her eyes, and I realized that cake was never really about the roses or the perfect presentation. It was about showing up with something made by hand, something that said you believed this moment was worth the time.
Why This Cake Changes Everything
There's a difference between bringing a cake to a party and bringing a cake you made, and people feel that difference even if they can't name it. This particular cake sits right at that sweet spot where the technique feels attainable but the result looks like you spent hours in a professional kitchen. The vanilla is classic enough that nobody expects tricks, and the buttercream roses are the kind of detail that makes someone feel genuinely celebrated.
The Chocolate Variation Nobody Talks About
If vanilla isn't your graduation mood, swap three-quarters of a cup of flour for three-quarters of a cup of unsweetened cocoa powder, and you'll get a cake that's rich without being heavy. The milk and butter in the batter balance the cocoa beautifully, and the buttercream roses pop even more dramatically against the dark chocolate base. I've made this version for chocolate-loving graduates, and it's never let me down.
Storage, Timing, and Everything In Between
This cake actually gets better on day two as the flavors settle, so if you're baking the night before a celebration, that's not a problem—it's a strategy. Keep it covered at room temperature for up to two days, or refrigerate it for up to five days if your kitchen is warm or if you're baking far in advance. The buttercream may firm up in the fridge, so let the whole cake sit out for thirty minutes before serving if you want those roses to feel creamy and soft again.
- If you're piping roses hours ahead, pipe them directly on the frosted cake and keep it in a cool room or the fridge so they hold their shape.
- Serve this cake with sparkling lemonade or champagne, because you're not just eating dessert, you're celebrating.
- Don't stress about perfect roses—graduated edges, slightly asymmetrical petals, and happy accidents look way more authentic than anything too perfect could ever be.
 Pin It
 Making this cake became my way of saying I see you, I'm proud of you, and you matter enough for me to spend an afternoon in the kitchen. That feeling is the real recipe here.
Recipe FAQs
- → What makes the cake moist and soft?
The combination of whole milk and creamed unsalted butter with sugar creates a tender and moist crumb in the vanilla cake.
- → How do I create the buttercream roses?
Use gel food coloring to tint portions of the buttercream, then pipe the roses with a petal tip for a natural, vibrant floral effect.
- → Can this cake be customized with different flavors?
Yes, substituting some flour with unsweetened cocoa powder creates a chocolate variation while maintaining the same decorative buttercream technique.
- → What tools are essential for decorating the cake?
Key tools include piping bags and tips (petal, leaf, round), an offset spatula for spreading buttercream, and a wire rack for cooling the cake evenly.
- → How should the cake be stored to keep it fresh?
Cover the cake at room temperature for up to two days or refrigerate it for up to five days to preserve freshness and texture.
- → Are there allergen concerns to consider?
This cake contains wheat (gluten), eggs, and dairy. Check any added food coloring for allergens if sensitive.