 Pin It
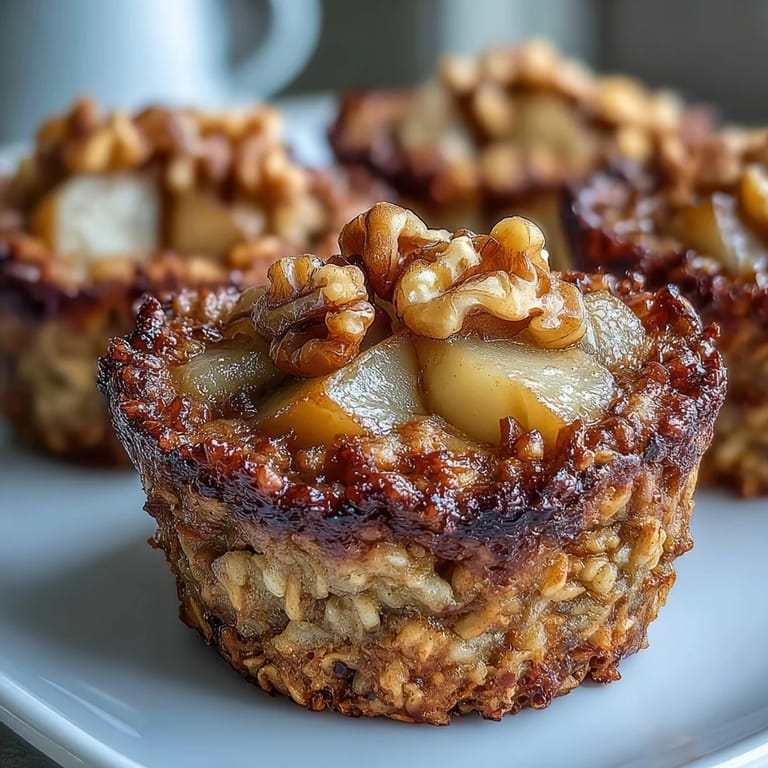
 The first time I made Pear Vanilla Baked Oatmeal Cups, the kitchen was filled with that unmistakable, sweet vanilla warmth almost before the oven door closed. I was simply looking for a way to use up a couple of pears on their last legs, but as soon as everything came together, it was obvious these little oatmeal cups were destined for bigger things. There was something calming about stirring diced pears into the creamy batter, stealing a taste of the fragrant mixture. The sizzle of melted butter hitting the warm bowl lingers in my mind. Cozy yet somehow elegant, these are my go-to for making weekday breakfasts feel indulgent with minimal fuss.
One rainy Saturday, I popped a tray of these oatmeal cups in the oven before friends dropped by. We leaned around the kitchen counter, mug in hand, catching up as aromas of warm vanilla and pear drifted out, setting the atmosphere before the first bite was even taken. Everyone reached for seconds, even those who claimed not to be morning people. That day, these cups sparked conversation as well as appetites. It was proof that breakfast can become a reason to gather.
Ingredients
- Old-fashioned rolled oats: These oats soak up the wet ingredients perfectly, creating a hearty bite—quick oats tend to get mushy, so stick with rolled for the best texture.
- Baking powder: Helps the cups rise just enough for a delicate crumb, so you don’t skip this simple touch.
- Ground cinnamon: Ever since trying a heavier sprinkle once, I learned this brings the pears to life—gentle warmth, never overpowering.
- Salt: A tiny pinch sharpens all the other flavors, making the vanilla and pear pop.
- Eggs: They hold everything together so your cups never fall apart in your hand; bring to room temperature if you have the time.
- Milk (dairy or non-dairy): Adds moisture and keeps the texture creamy; oat milk or almond are great plant-based swaps.
- Pure maple syrup or honey: A little natural sweetness that complements the pear; I prefer maple for that deeper note but honey works if that’s what you have.
- Unsalted butter, melted (or coconut oil): For richer flavor and tenderness; coconut oil gives a subtle tropical edge.
- Pure vanilla extract: Real vanilla is key—the aroma sets the tone for the whole recipe, so use the good stuff if possible.
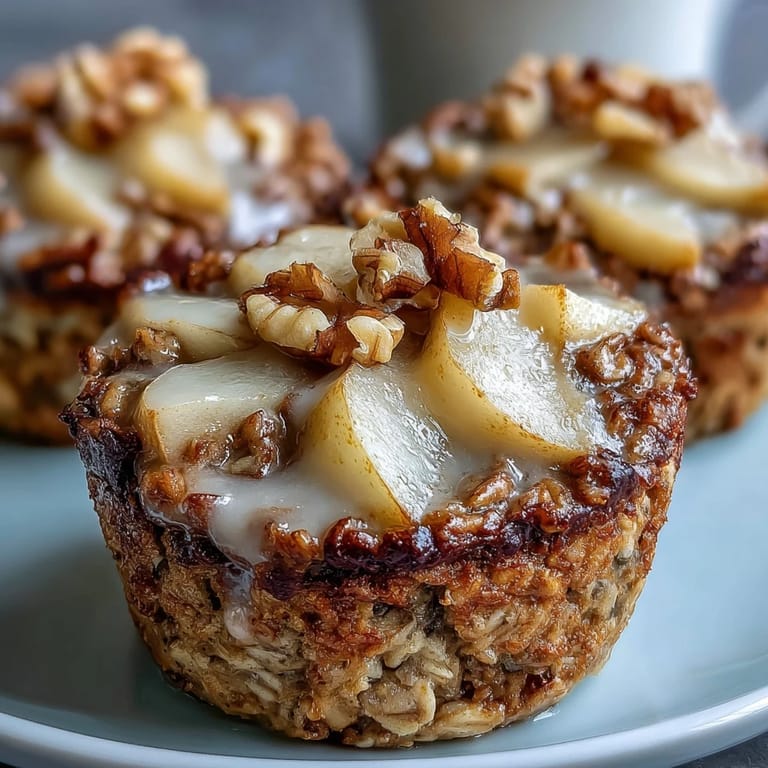
- Ripe pears, peeled, cored, and diced: Their juiciness and delicate flavor infuse every bite—cut them small for even distribution and sweetness throughout.
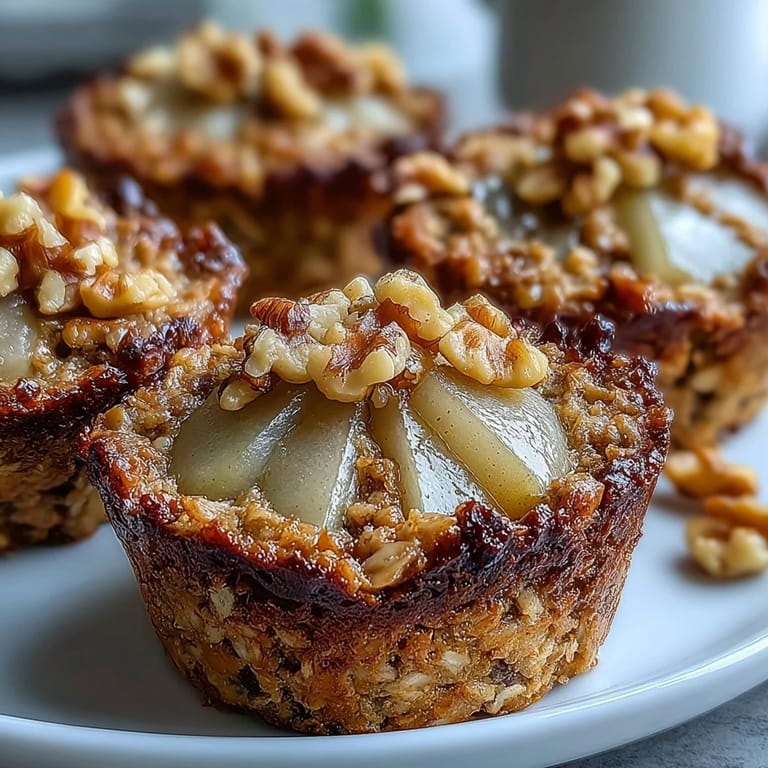
- Optional toppings: chopped walnuts or pecans, turbinado sugar: Adds crunch and a touch of caramelized sparkle; I like to sprinkle just a little for a bakery look.
Tired of Takeout? 🥡
Get 10 meals you can make faster than delivery arrives. Seriously.
One email. No spam. Unsubscribe anytime.
Instructions
- Preheat and prepare:
- Set your oven to 350°F and either line a muffin tin or grease each cup—you don’t want any sticking mishaps later.
- Mix the dry ingredients:
- In a roomy bowl, combine oats, baking powder, cinnamon, and salt, enjoying the cinnamon's scent as you stir.
- Whisk the wet ingredients:
- Grab another bowl and whisk together eggs, milk, maple syrup, butter, and vanilla until silky and fragrant.
- Combine wet and dry:
- Pour the wet mixture over the dry and fold gently—it should look a bit loose but will thicken as it bakes.
- Add the pears:
- Tip in your diced pears and fold in with care so each muffin gets a good helping of fruit.
- Fill and top:
- Evenly divide the batter into each muffin cup, topping with nuts and a pinch of turbinado sugar if you’re in the mood for extra crunch.
- Bake to golden:
- Bake for 25-28 minutes until lightly golden and set; the tops should gently spring back when pressed.
- Cool and enjoy:
- Let them rest in the pan for 5 minutes, then move to a rack to finish cooling (if you can wait that long).
 Pin It
 I’ll never forget the look on my partner’s face when I handed them a warm oatmeal cup straight from the rack, steam still curling up. It quickly became our thing: a cozy breakfast-for-two ritual when we needed an easy win to start the day.
Best Way to Store and Reheat
Oatmeal cups should cool fully before you stash them in an airtight container in the fridge. To reheat, zap one in the microwave for 15-20 seconds—they stay moist and the fruit becomes even more fragrant, almost like dessert for breakfast.
Smart Swaps for Seasonal Variety
You can swap in apples or berries instead of pears for a totally different vibe, or try a handful of dried fruit. Changing up the nuts (or skipping them) tweaks the crunch without compromising the flavor. Even shredded coconut or a pinch of ginger are lovely if you want to freestyle.
Easy Clean Up and Serving Ideas
If you use paper muffin liners, cleanup takes half the time, and the oatmeal cups pop right out every time. They’re delicious plain, but a dollop of Greek yogurt or drizzle of extra maple syrup makes them feel even more special. I love adding a few cubes to a lunchbox on busy days.
- Let oatmeal cups cool before packing to prevent sogginess.
- Nuts or seeds can be sprinkled on top after baking for extra crunch.
- Always taste test one warm—it’s a baker’s privilege.
 Pin It
 These Pear Vanilla Baked Oatmeal Cups are a little bit of comfort you can hold in your hand. I hope they make your mornings (or anytime) just that much sweeter.
Recipe FAQs
- → Can I use different fruits instead of pears?
Yes, apples or berries work well as substitutes, providing different flavors and textures to the baked cups.
- → What types of milk can be used in this dish?
Dairy or plant-based milks like almond, soy, or oat milk can be used according to dietary preferences.
- → How can I make these cups gluten-free?
Use certified gluten-free rolled oats to ensure the dish is safe for gluten-sensitive individuals.
- → Are nuts necessary for the topping?
Nuts are optional and can be omitted or replaced with seeds to suit dietary needs or preferences.
- → What is the best way to store these oatmeal cups?
Store refrigerated for up to 5 days or freeze for up to 2 months. Reheat briefly before serving for best texture.