 Pin It
 The most unexpected part about testing this Rosé Velvet Cake was how the sunset-pink scent of rosé hung in the kitchen, almost outshining the first peek of gold sheen curling over freshly smoothed buttercream. I once made it on a rainy Wednesday, foam rollers still in my hair, because I needed a mockup for my cousin's bridal shower. By the time the cake cooled, the storm had passed, and I realized how a little shimmer can turn any afternoon into a celebration. There's something quietly thrilling about artfully painting edible gold onto white chocolate drips, hands trembling just slightly from anticipation. This cake is my answer to all calls for edible elegance fit for a once-in-a-lifetime party.
After the bridal shower, I overheard my aunt whispering that even the most stoic relative grinned at their first bite—sweet, tart, and just a hint of mischief from the wine. I remember nervously carrying the finished cake out and noticing everyone's phones discreetly snapping photos before I even set it down. Somewhere behind me, my best friend mumbled that the kitchen smelled like a bakery on Valentine's Day. It only took one slice before the laughter and toasts flowed more freely. Suddenly, my nerves about coloring the batter just right felt totally worth it.
Ingredients
- All-purpose flour: Sifting the flour is crucial — it keeps the crumb supremely tender.
- Granulated sugar: Sweetens without overpowering, and creaming it with eggs makes everything pillow-soft.
- Baking soda: Just a teaspoon adds all the airiness the cake needs, so measure carefully.
- Fine salt: A whisper of salt sharpens every other flavor; never skip it.
- Unsweetened cocoa powder: Just enough for complexity, and I always sift to chase away lumps.
- Vegetable oil: Delivers moist, even layers — no creaming required.
- Large eggs: Let them reach room temp for a silkier batter; cold eggs can shock the mix.
- Buttermilk: Its subtle tang pairs beautifully with the rosé; don't substitute plain milk.
- Rosé wine: I prefer a dry or just-bubbly kind — it leaves a floral note without being boozy.
- Vanilla extract: Rounds out the flavor, and a little extra never hurts.
- White vinegar: Reacts with baking soda for rise, and you won't taste it later.
- Pink or rose gel food coloring: Gel is the easiest to control for achieving that perfect blush shade.
- Unsalted butter: For the buttercream, let it soften; no shortcut beats time for creamy consistency.
- Powdered sugar: Sift every cup to keep the buttercream cloud-light and lump-free.
- Heavy cream: Used for the gold drip; makes white chocolate lush and pourable.
- White chocolate chips: They melt smooth if you go slow; avoid overheating.
- Edible gold luster dust: Always choose labeled 'edible' — don't use craft metallics.
- Vodka or clear lemon extract: Thins gold luster for painting, then evaporates without leaving a taste.
- Optional decorations: Edible flowers or berries make it show-stopping every time.
Tired of Takeout? 🥡
Get 10 meals you can make faster than delivery arrives. Seriously.
One email. No spam. Unsubscribe anytime.
Instructions
- Prep and Pan:
- Heat your oven to 350°F (175°C). Grease and line three cake pans with parchment so nothing sticks, and you get perfect layers every time.
- Dry Ingredients:
- In a big bowl, sift flour, sugar, baking soda, salt, and cocoa powder together; watch the pale cocoa cloud and let it settle.
- Wet Ingredients:
- Whisk oil, eggs, buttermilk, rosé, vanilla, and vinegar in a separate bowl until they blend into a silky blush mixture.
- The Perfect Pink:
- Pour wet into dry and fold gently; swirl in the gel coloring to your ideal rosy-pink and stop just when combined.
- Bake the Layers:
- Divide the batter evenly among your pans. Bake 30-35 minutes—your kitchen will smell faintly floral when they're ready.
- Cooling Off:
- Let cakes cool in the pans for 10 minutes, then invert onto racks to cool completely; resist peeling off the parchment too soon.
- Buttercream Magic:
- Beat butter until it's literally paler and fluffy, then add powdered sugar in slow, snowy batches. Finish with rosé, vanilla, and salt, then whip until smooth and spreadable.
- Assemble & Crumb Coat:
- Level cooled cakes if needed. Stack with buttercream between layers, coat the outside thinly, and pop in the fridge to set the crumb coat before final frosting.
- Gold Drip Finishing:
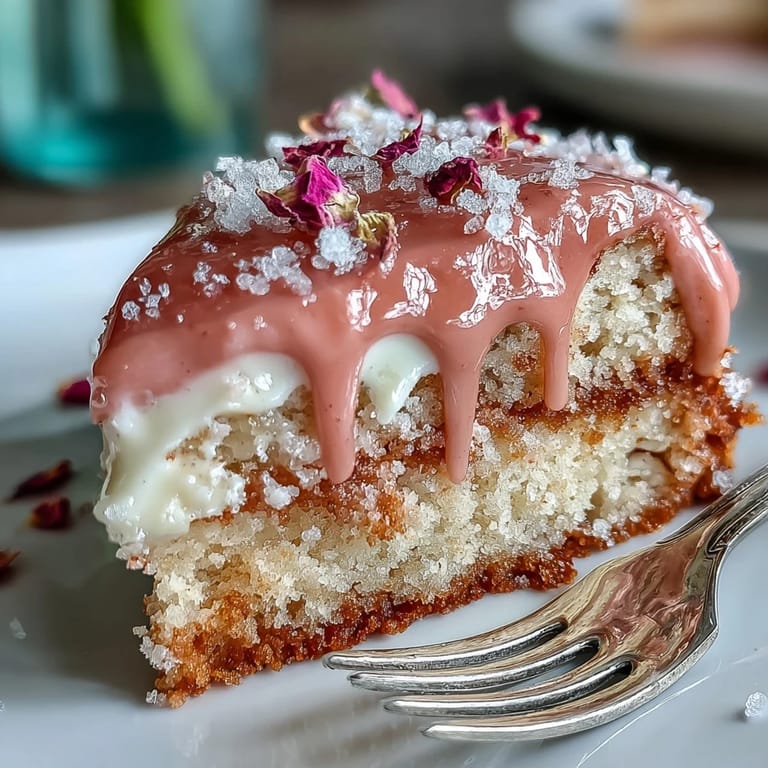
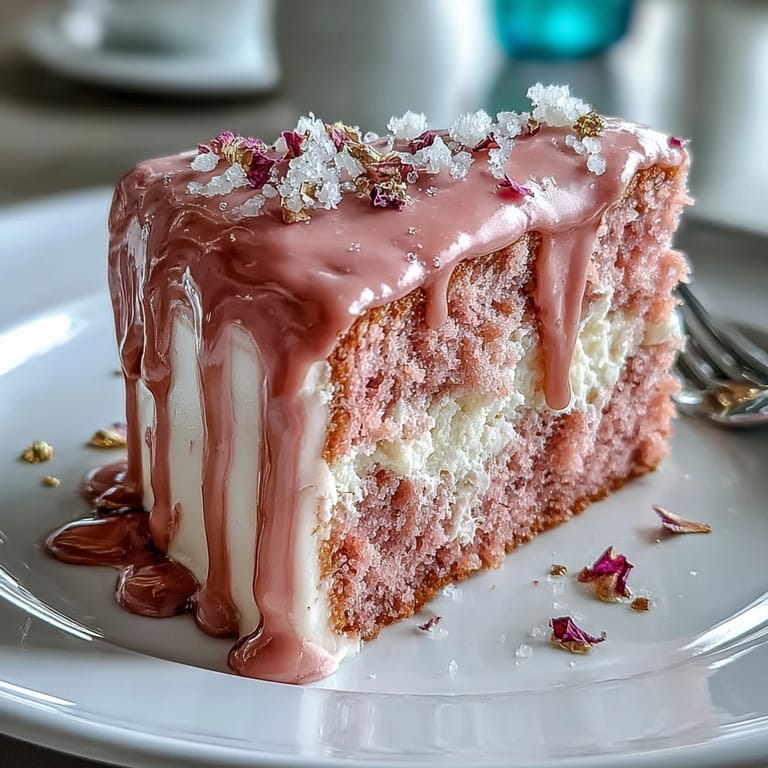
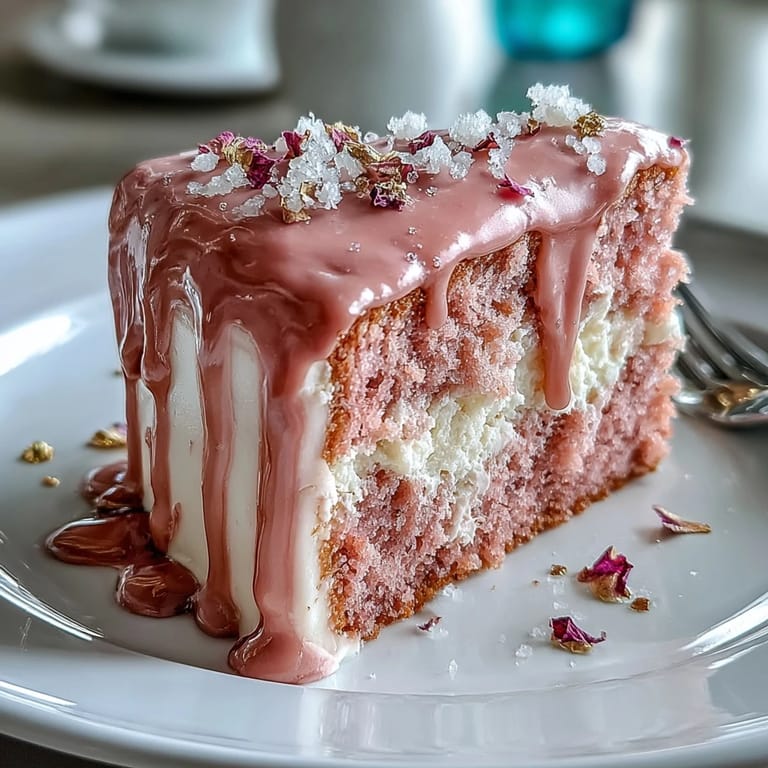
- Melt white chocolate and cream gently, then cool it for just a bit. Pour it over the cake edge, let drips form naturally, and when set, paint on edible gold with a brush.
- Decorate Like Royals:
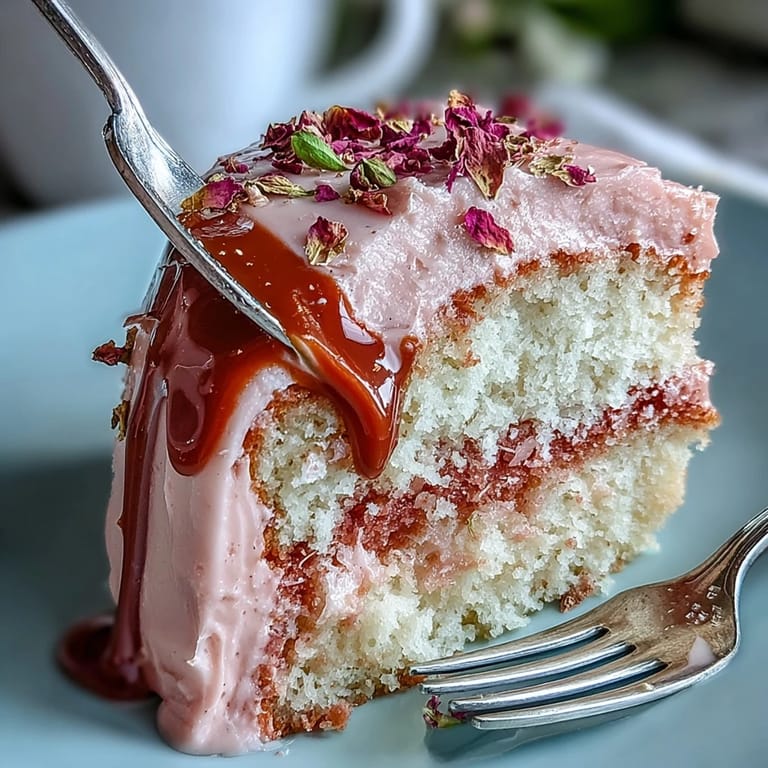
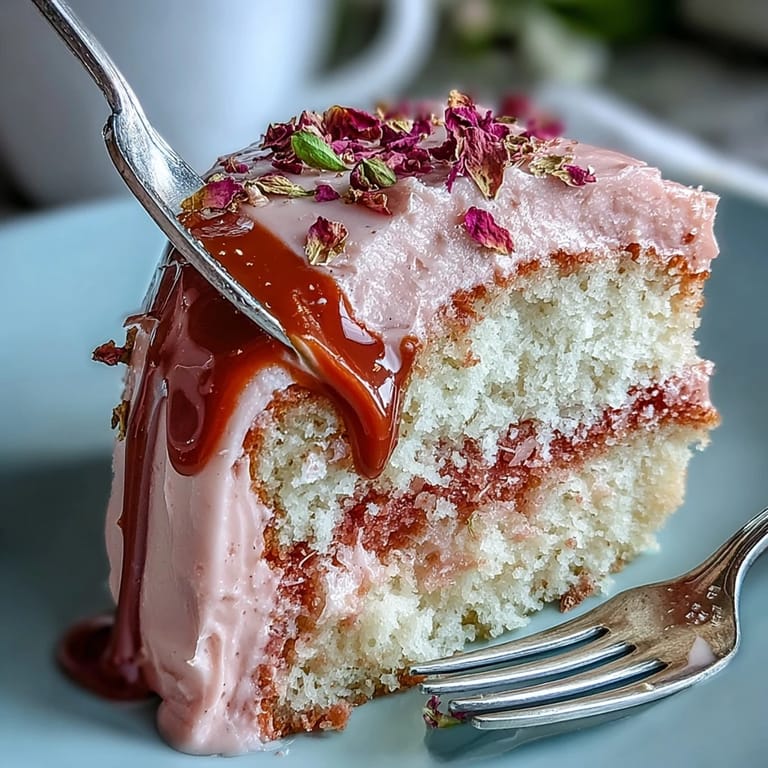
- Add gold accents, berries, or petals to finish your masterpiece—pause to admire, it really is bridal shower ready.
 Pin It
  Pin It
 When I caught the bride quietly sneaking the leftover slice into a napkin before leaving, I realized this cake had become a tiny keepsake, not just dessert. A couple of months later, she still brought it up at every brunch, claiming she tasted the start of something magical in every forkful.
Troubleshooting Pink Velvet Perfection
If you ever notice the cake turns out pale or a little beige, it's likely the cocoa powder or the type of rosé you used. For rich pink hues, reach for a deeper gel color and select your wine by its blush tones. Don't overmix the batter after adding your food color or you'll lose the airy texture. If the layers dome, simply trim them with a serrated knife—no one will ever know. And remember, edible gold always looks more intense after a half-hour of setting.
Serving with Style at Special Occasions
Setting the finished cake on a low pedestal and adding a few edible rose petals or raspberries turns it effortlessly photo-worthy. I've found guests always appreciate slices served at just below room temperature, when the buttercream is at its softest. Be ready: the gold will flake a bit if you touch it too soon, so use an offset spatula for clean slices. Keep a damp towel nearby to wipe your knife between slices for sharp, clean cuts. It's amazing how a simple garnish can make every slice feel like a small celebration.
Little Extras That Make All the Difference
Even on days when I make this alone, I like to put on music and gather all my tools before I start, so the process feels like a treat and not a chore. Using parchment rounds and a small offset spatula makes assembling this cake smooth sailing, and never underestimate the calming power of the gentle tapping sound as you level buttercream. When in doubt, err on the side of underbaking—residual heat will finish the job. Enjoy the gold shimmer; you earned it. Lastly, have fun with flavor ideas: sparkling rosé adds a brighter flavor, and a teaspoon of orange zest is lovely in the buttercream.
- If your gold paint seems streaky, add a drop more liquid for smooth coverage.
- Always chill the cake before the drip step or the chocolate will run off too fast.
- Leftover cake keeps beautifully — just wrap slices well and refrigerate.
 Pin It
  Pin It
 I hope baking this Rosé Velvet Cake brings a sense of celebration to your kitchen, just as it did to mine. Sharing cake is basically sharing joy—especially when there's gold in every bite.
Recipe FAQs
- → How much rosé should I use in the batter and buttercream?
Use 1/2 cup (120 ml) of rosé in the batter for a subtle floral note and 3–4 tablespoons in the buttercream to flavor and thin as needed; adjust to taste while keeping consistency in mind.
- → Can I make this without alcohol?
Yes — substitute equal parts unsweetened sparkling water or additional buttermilk in the batter, and use a splash of clear grape juice or nonalcoholic rosé-flavored syrup in the buttercream for similar aroma.
- → How do I achieve a smooth, controlled gold drip?
Melt white chocolate with cream until glossy, cool 8–10 minutes to thicken slightly, then test drips on a chilled bowl edge. Pour slowly at the edge and let gravity form drips. Once set, mix edible gold luster with a small amount of vodka or clear extract and paint the drips for shine.
- → What are the best tips for even cake layers?
Weigh batter to divide evenly between pans, rotate pans in the oven if needed, and level layers with a serrated knife or cake leveler once cooled. Chill layers briefly before stacking to reduce crumb transfer.
- → How should I store and serve the cake?
Refrigerate the finished cake covered; it can be made a day ahead. Remove from fridge about 30–60 minutes before serving to allow buttercream to soften and flavors to open.
- → Is all luster dust safe to use for the gold finish?
Only use luster dust labeled edible. Do not use non-edible metallics. If using cosmetic-grade powders, ensure they are food-safe and follow manufacturer guidance for mixing with vodka or clear extract.